
How to install an outdoor power socket
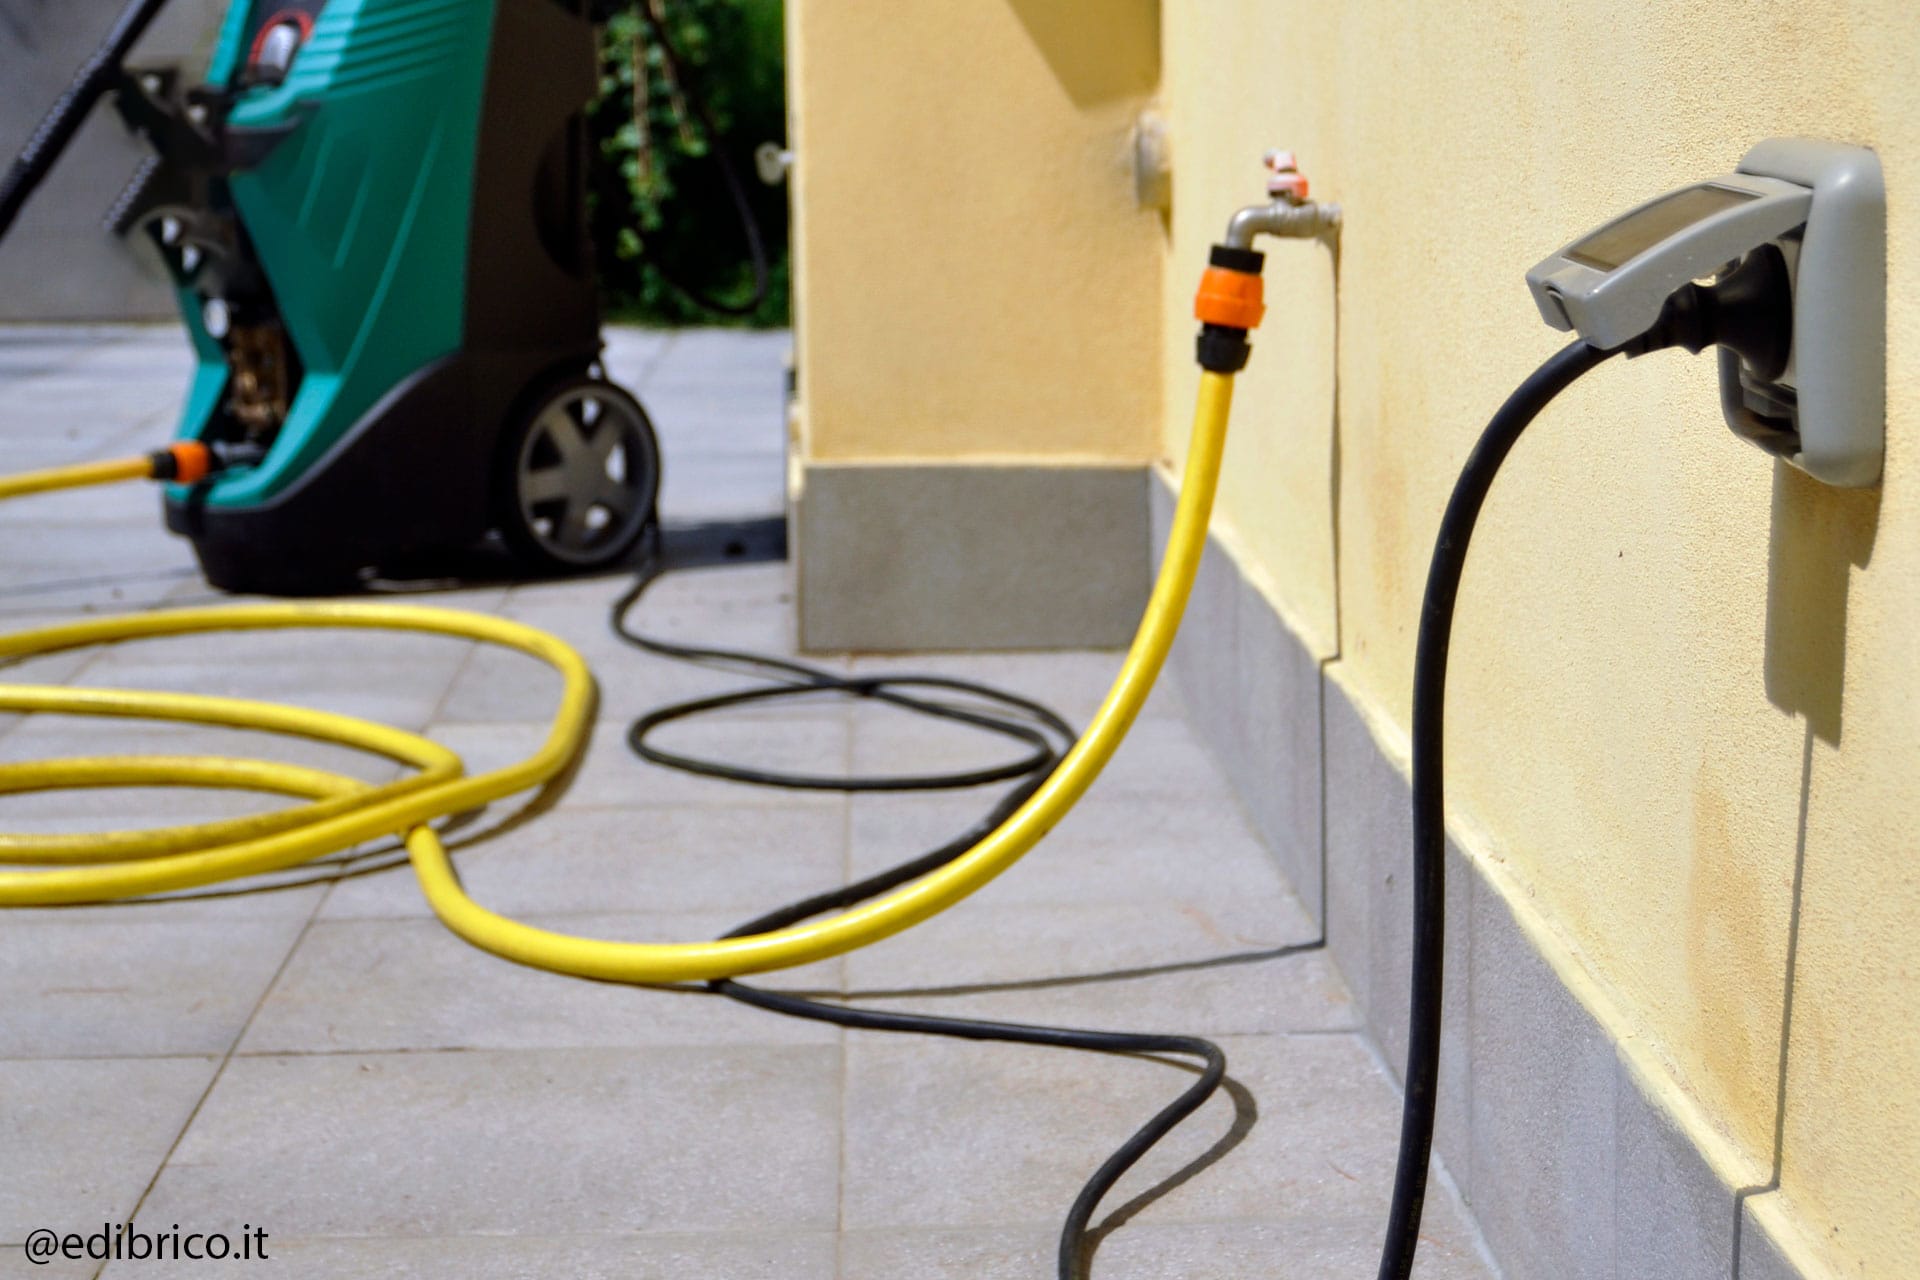
Having an outdoor power socket is extremely convenient. There are many electrical tools that can be used outdoors (lawn mowers, strimmers, chainsaws, etc.), as well as various electrical appliances (ovens, barbecues, lights, etc.). The presence of one or more sockets outside the house allows us to avoid the use of long cables or extensions, which can be impractical and pose a certain additional risk during use, especially if it rains. The outdoor socket must have a cover and be protected against the danger of contact with water.
There are various degrees of protection (indicated by the letters IP followed by a number, e.g., IP 55, IP66). But be careful. A socket with IP 55 (protected against water) loses this degree of protection when the protective door is lifted and the plug is inserted into the socket. This is why it is advisable to use outdoor sockets with a special shape that ensures protection to the highest degree (in this case IP66) even if the plug is inserted. So this is the kind of socket you want. Lastly, we would like to remind you that the installation of an outdoor electrical socket is not a DIY operation and must be carried out by a qualified electrician.
Let us take a look at the installation procedure.
Things you will need
- Drill
- Electrical box, electrical inserts and cover with IP protection
- Cutter
- Silicone
- Cable probe

Step 1
INSTALL THE SOCKET BOX IN THE WALL
Once a suitable point has been identified, the socket box must be fastened to the wall (or to another suitable structure): use a drill (or an awl) to open the holes already made in the bottom of the thermoplastic container to be fastened to the wall. Then fasten the box in place using the two screws, screwing them into the plugs already positioned. Make sure that the container is horizontal, adjusting it slightly if necessary. Use a cutter to cut the cable cone on the outer edge of the container. The size of the opening can be adjusted with a cutter.
Step 2
RUN THE CABLES THROUGH A CONDUIT TO THE OUTDOOR ELECTRICAL SOCKET
An external, insulated conduit must be brought to the socket to carry the power cables. It must run from the nearest distribution box to the socket box. After creating a hole in the wall in a suitable position, wall plugs are fitted with hook fasteners onto which the various sections of the conduit are attached. The end of the conduit must enter the socket box through the previously cut cone without leaving any gaps. Any cracks which might allow the passage of rainwater must be sealed with transparent silicone. (The presence of water on the equipment and on the conduits can, however, have negative effects such as penetration, corrosion, etc., and it is therefore advisable for sockets installed outdoors to be fitted with a protective cover, preferably with side shields).
Step 3
FEEDING THE CABLES IN THE CONDUIT
The cables are inserted into the conduit using the cable probe and are pulled out into the container. In a standard case, three 1.5 mm2 wires are used (or more if high-current-absorbing appliances are to be connected to the socket): a blue wire for neutral, a black (or grey or brown) one for live and a yellow-green one for earth. The ends of the wires should be stripped by about 8 mm and the inner copper braid twisted tightly around itself.
Step 4
INSERTION OF THE SOCKET INSERT AND CONNECTION
The socket insert is fitted into the cover of the box. Some modular systems can accommodate several sockets of various types. The stripped wires are then inserted into the terminals of the socket-insert: the neutral and live wires to the outermost terminals and the yellow-green wire to the central terminal. No parts of the copper braid should be left outside the terminals. Shorten the stripped part if necessary.
Step 5
APPLICATION OF THE FRONT, COVER AND CONNECTION
You can now attach the socket front to the container, fastening it in place with the screws supplied. Make sure that the seal does not move. Depending on the type of socket used, the cover may already be fitted to the front or may have to be fitted later. In this case, follow the manufacturer’s installation instructions.
Step 6
CONNECTION TO THE ELECTRICITY SUPPLY
Once the installation is complete, the socket wires can be connected to the nearest distribution box. After switching off the power at the mains, identify the three neutral, live and earth wires and connect them with the cap connectors. After closing the distribution box, the power can be reconnected and the socket tested.
Step 7
REGULAR MAINTENANCE
The fact that the socket is located outdoors and therefore exposed to atmospheric agents requires us to carry out regular maintenance. Once a year, after switching off the power, open the socket, removing the front, and spray WD-40 Specialist Fast Drying Contact Cleaner which can effectively dissolve condensation on electrical or electronic equipment, including delicate materials, into the terminals and onto the contacts. It quickly penetrates hard-to-reach areas, drying quickly and leaving no residue. It restores electrical conductivity, eliminating the causes of short circuits.
Job Done!
Disclaimer
The uses shown and described for WD-40 Multi-Use Product were provided to WD-40 Company by the users themselves. These uses haven’t been tested by WD-40 Company and do not constitute a recommendation of suggestion for use by WD-40 Company. Common sense should be exercised whenever using WD-40 Company products. Always follow the instructions and take heed of any warnings printed on the packaging.
Need some advice?
Come and discover all our DIY, maintenance, auto, bicycle tutorials!

Language
Contact Us
© 2026 WD-40 Company.
All Rights Reserved